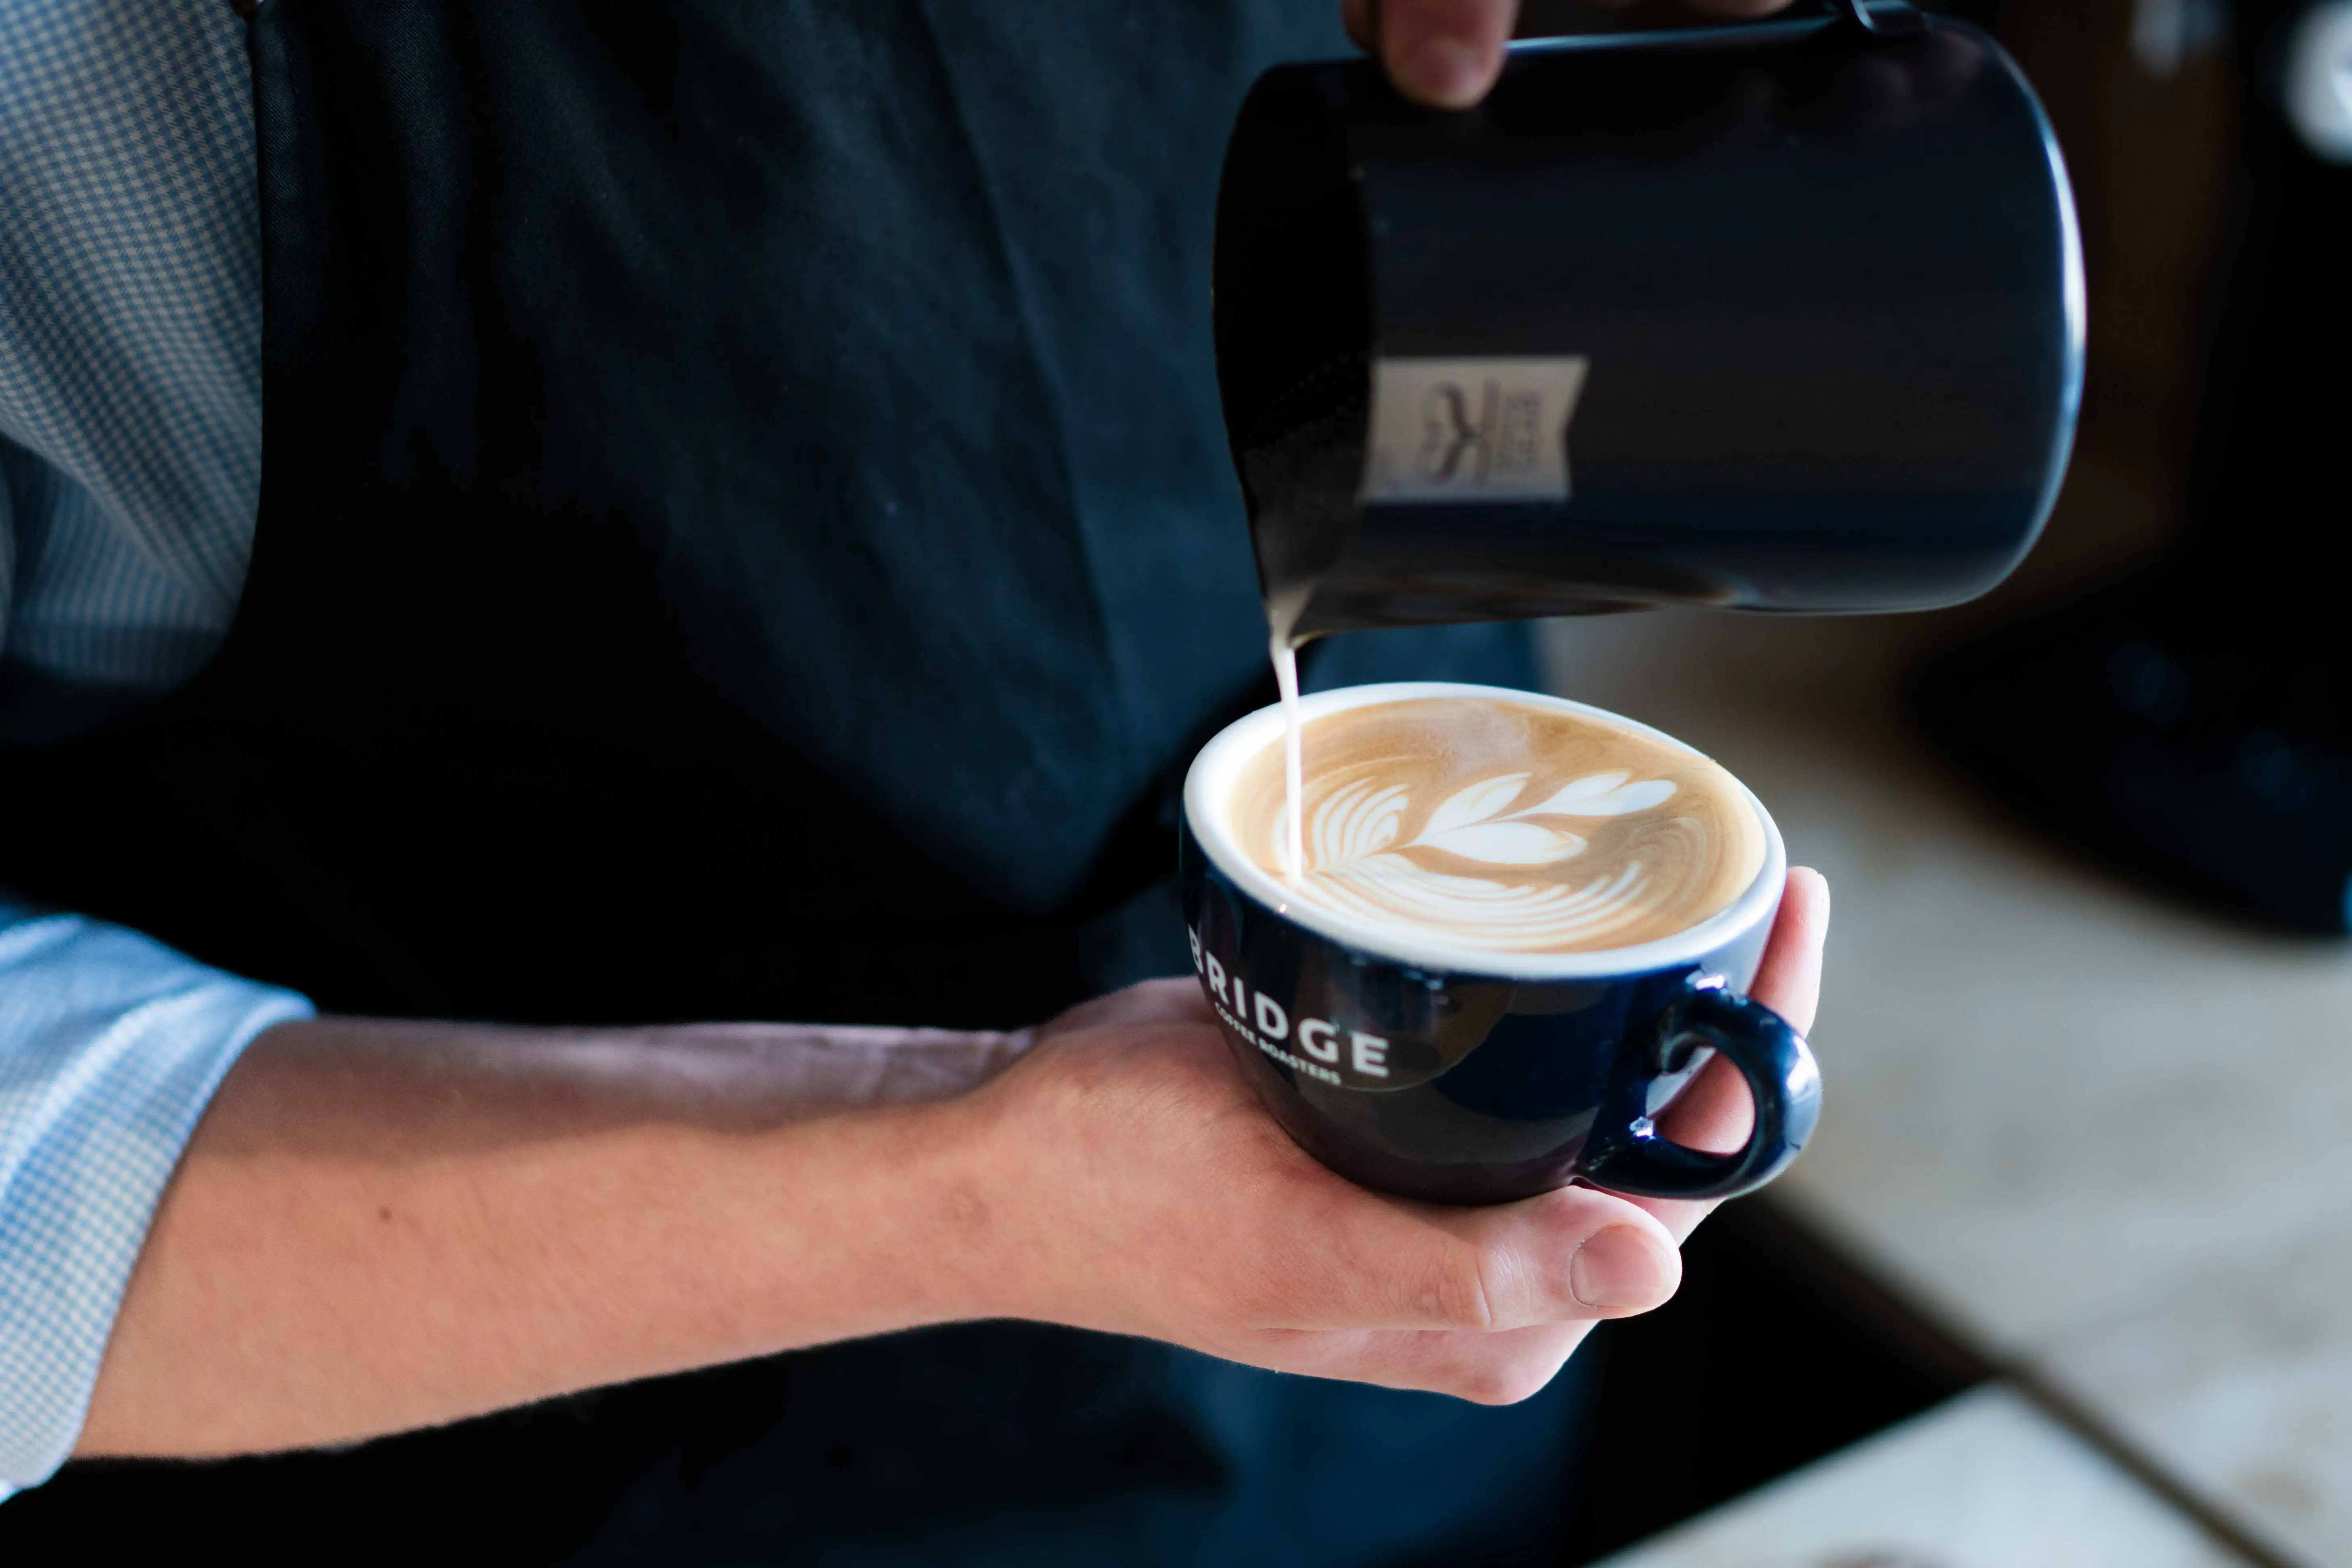
Serious About Serving Better Coffee?
We help hospitality businesses level up their coffee offer with our consultation-led approach.
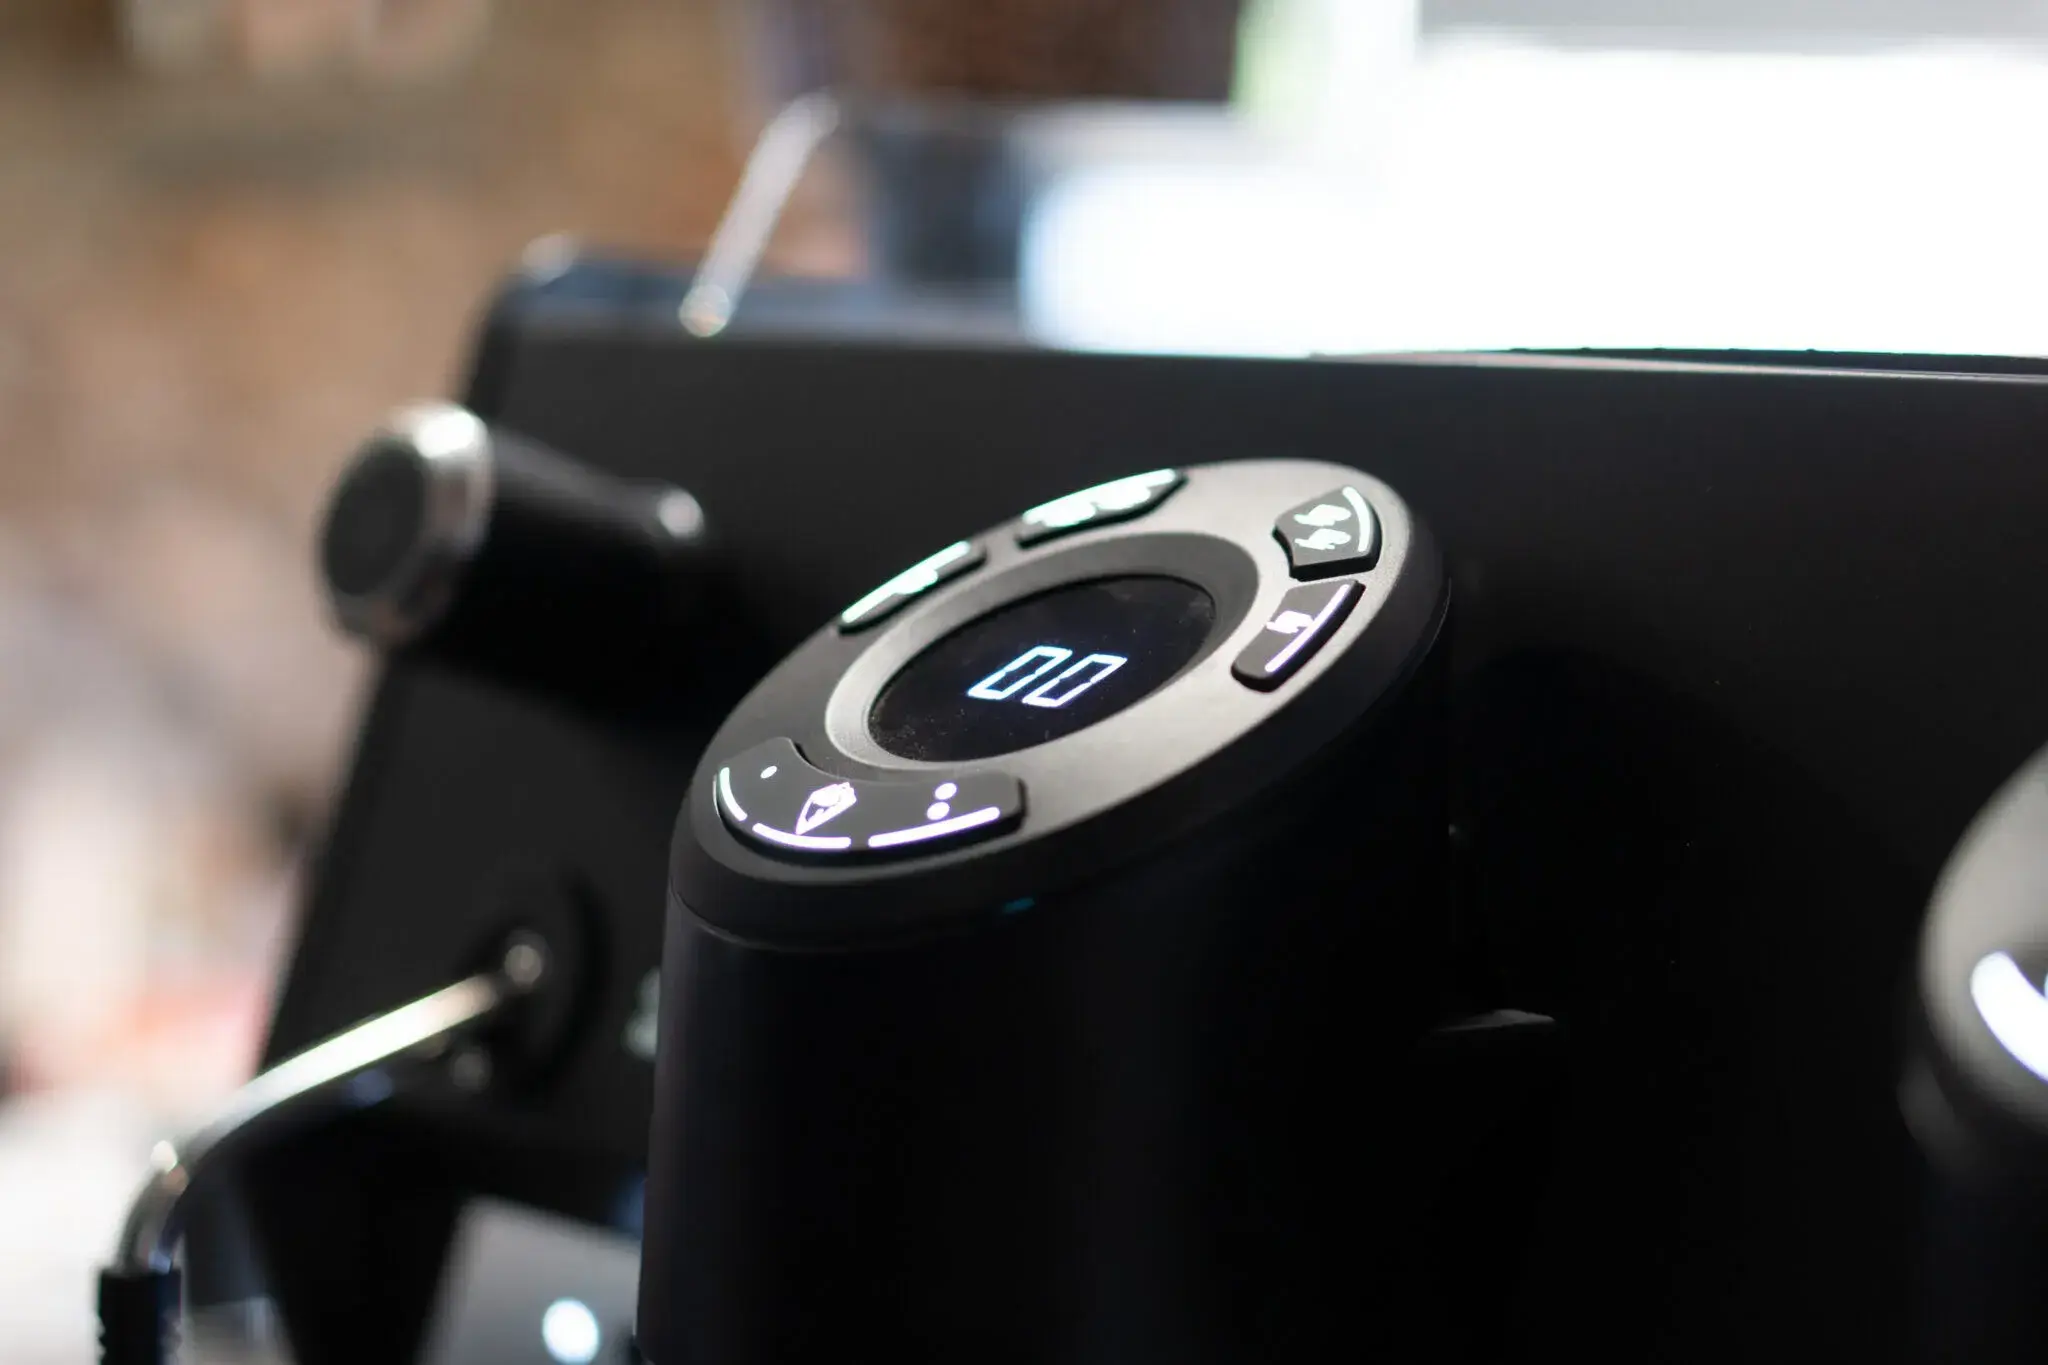
Machinery that Won't Let you Down
From traditional espresso and filter coffee-makers to super automatic bean to cup machines, our equipment combines classic methods with state-of-the-art-technology to bring out the best in every brew.
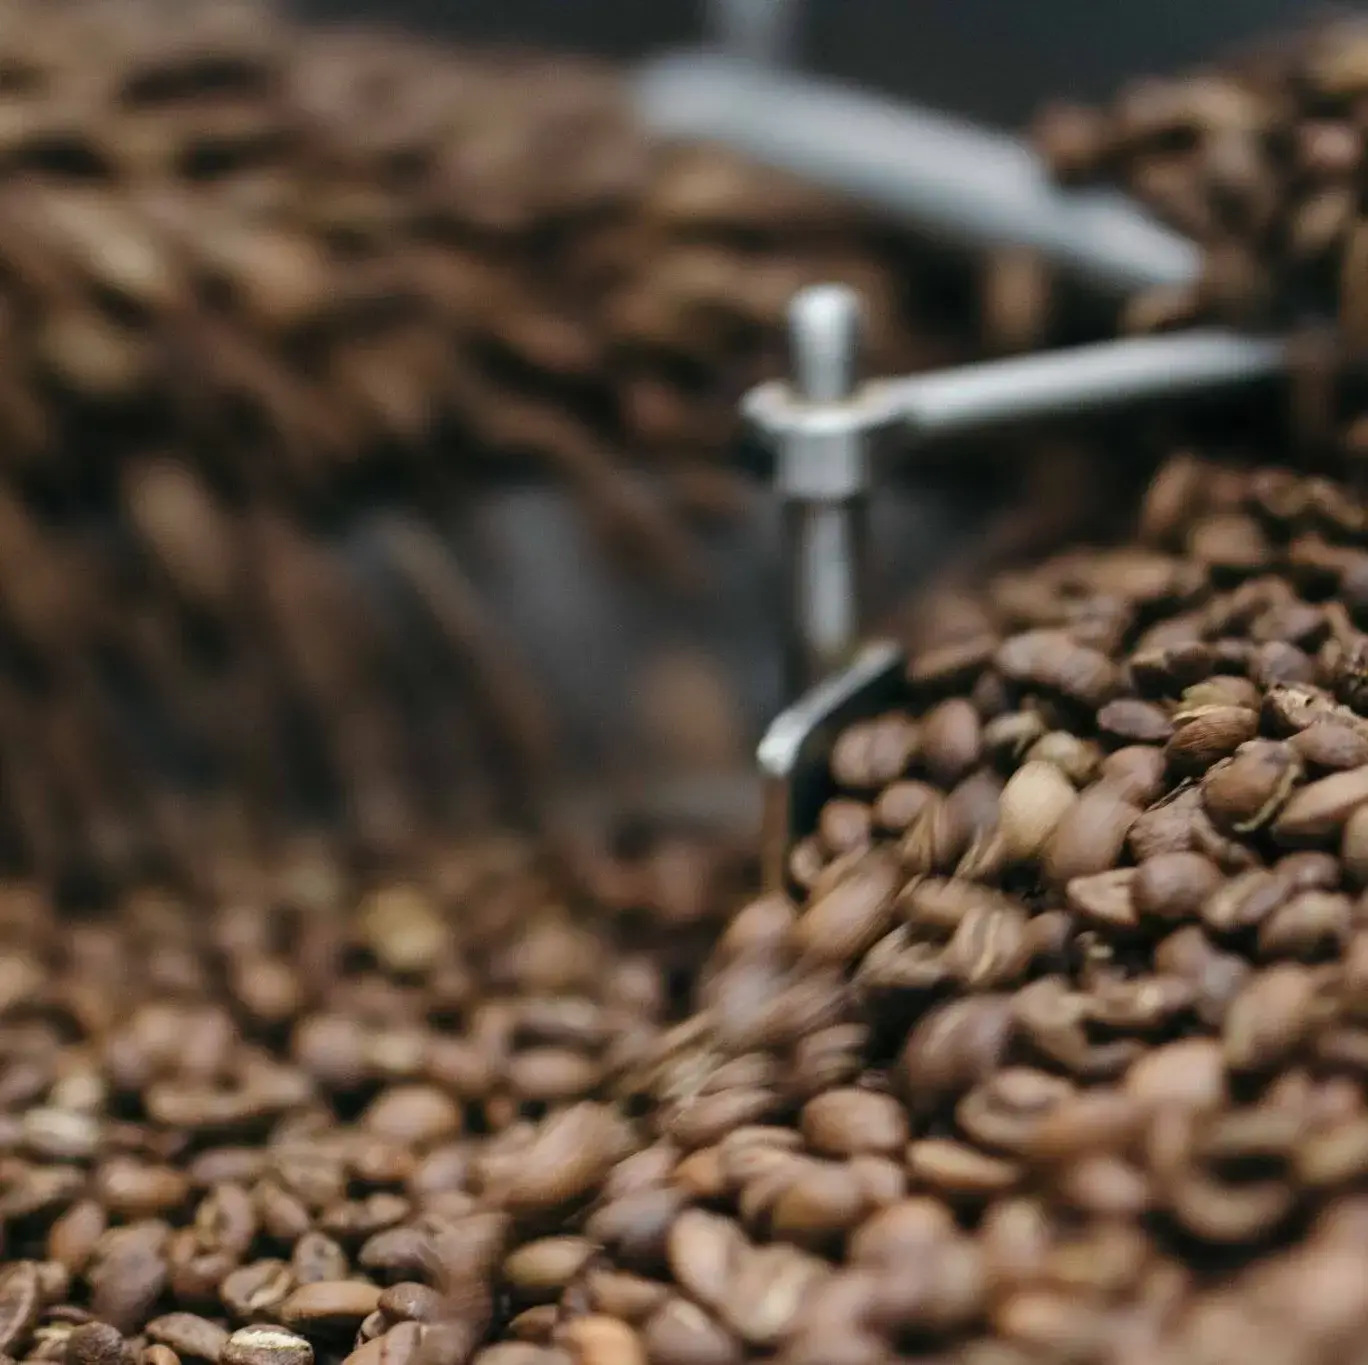
Hand-Roasted Specialty Coffee
Our exclusive Roots and Explorers Collections are a celebration of flavour from around the world. They’re fully certified too, so every cup supports coffee-growing communities.
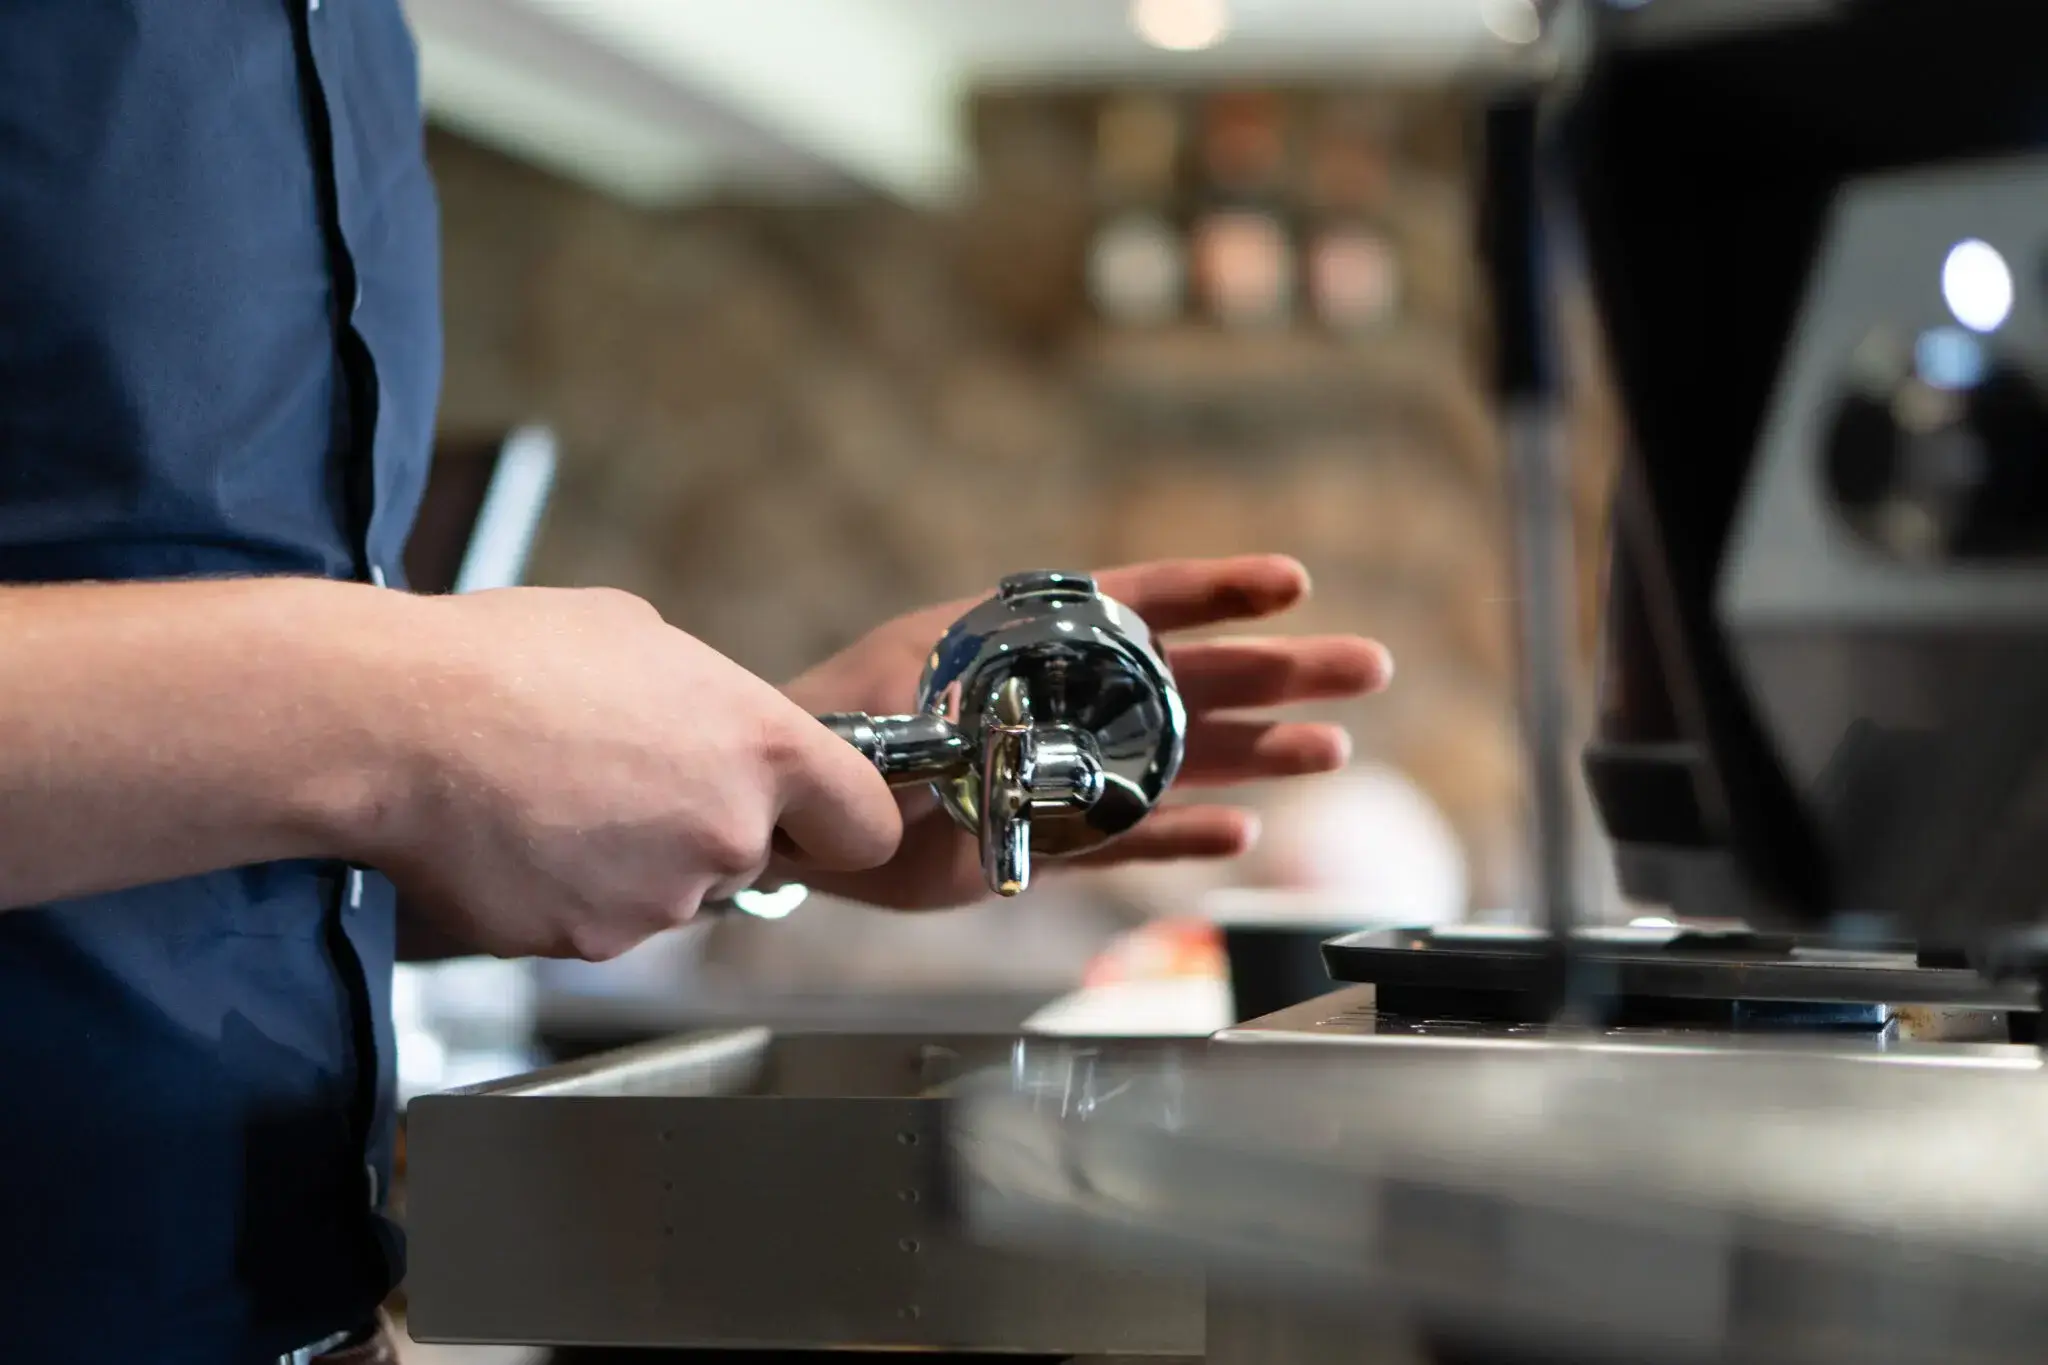
Expert Barista Training
Give your teams the knowledge they need to serve quality coffee every time, utilising the Brand Champion Programme to support quality control and marketing plans.
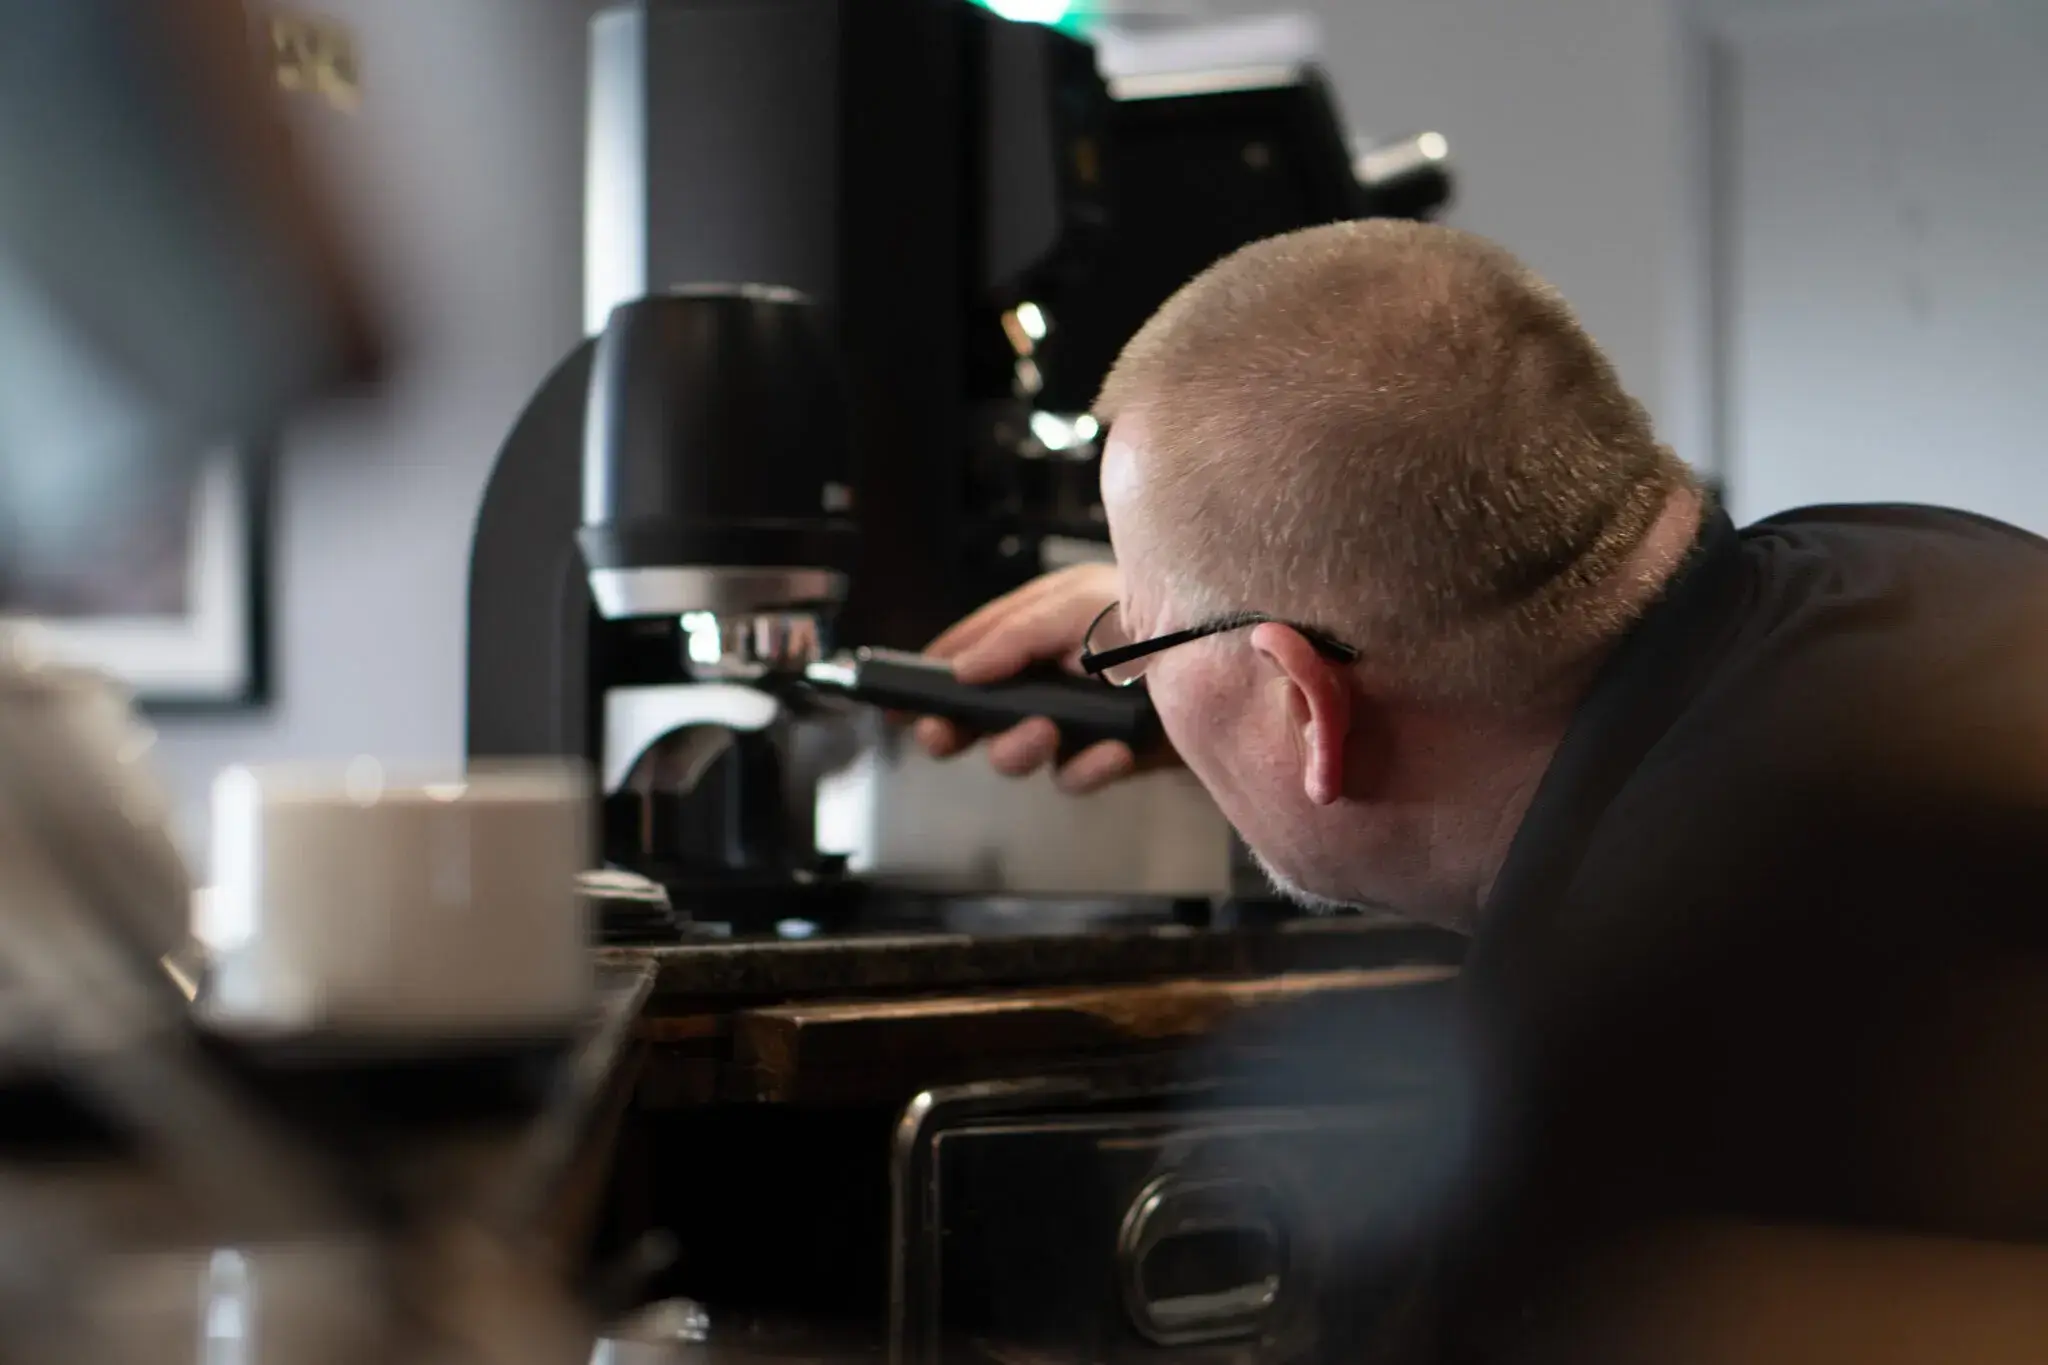
Dedicated Engineers
Limit your down-time in case of faults with our UK-wide team of engineers
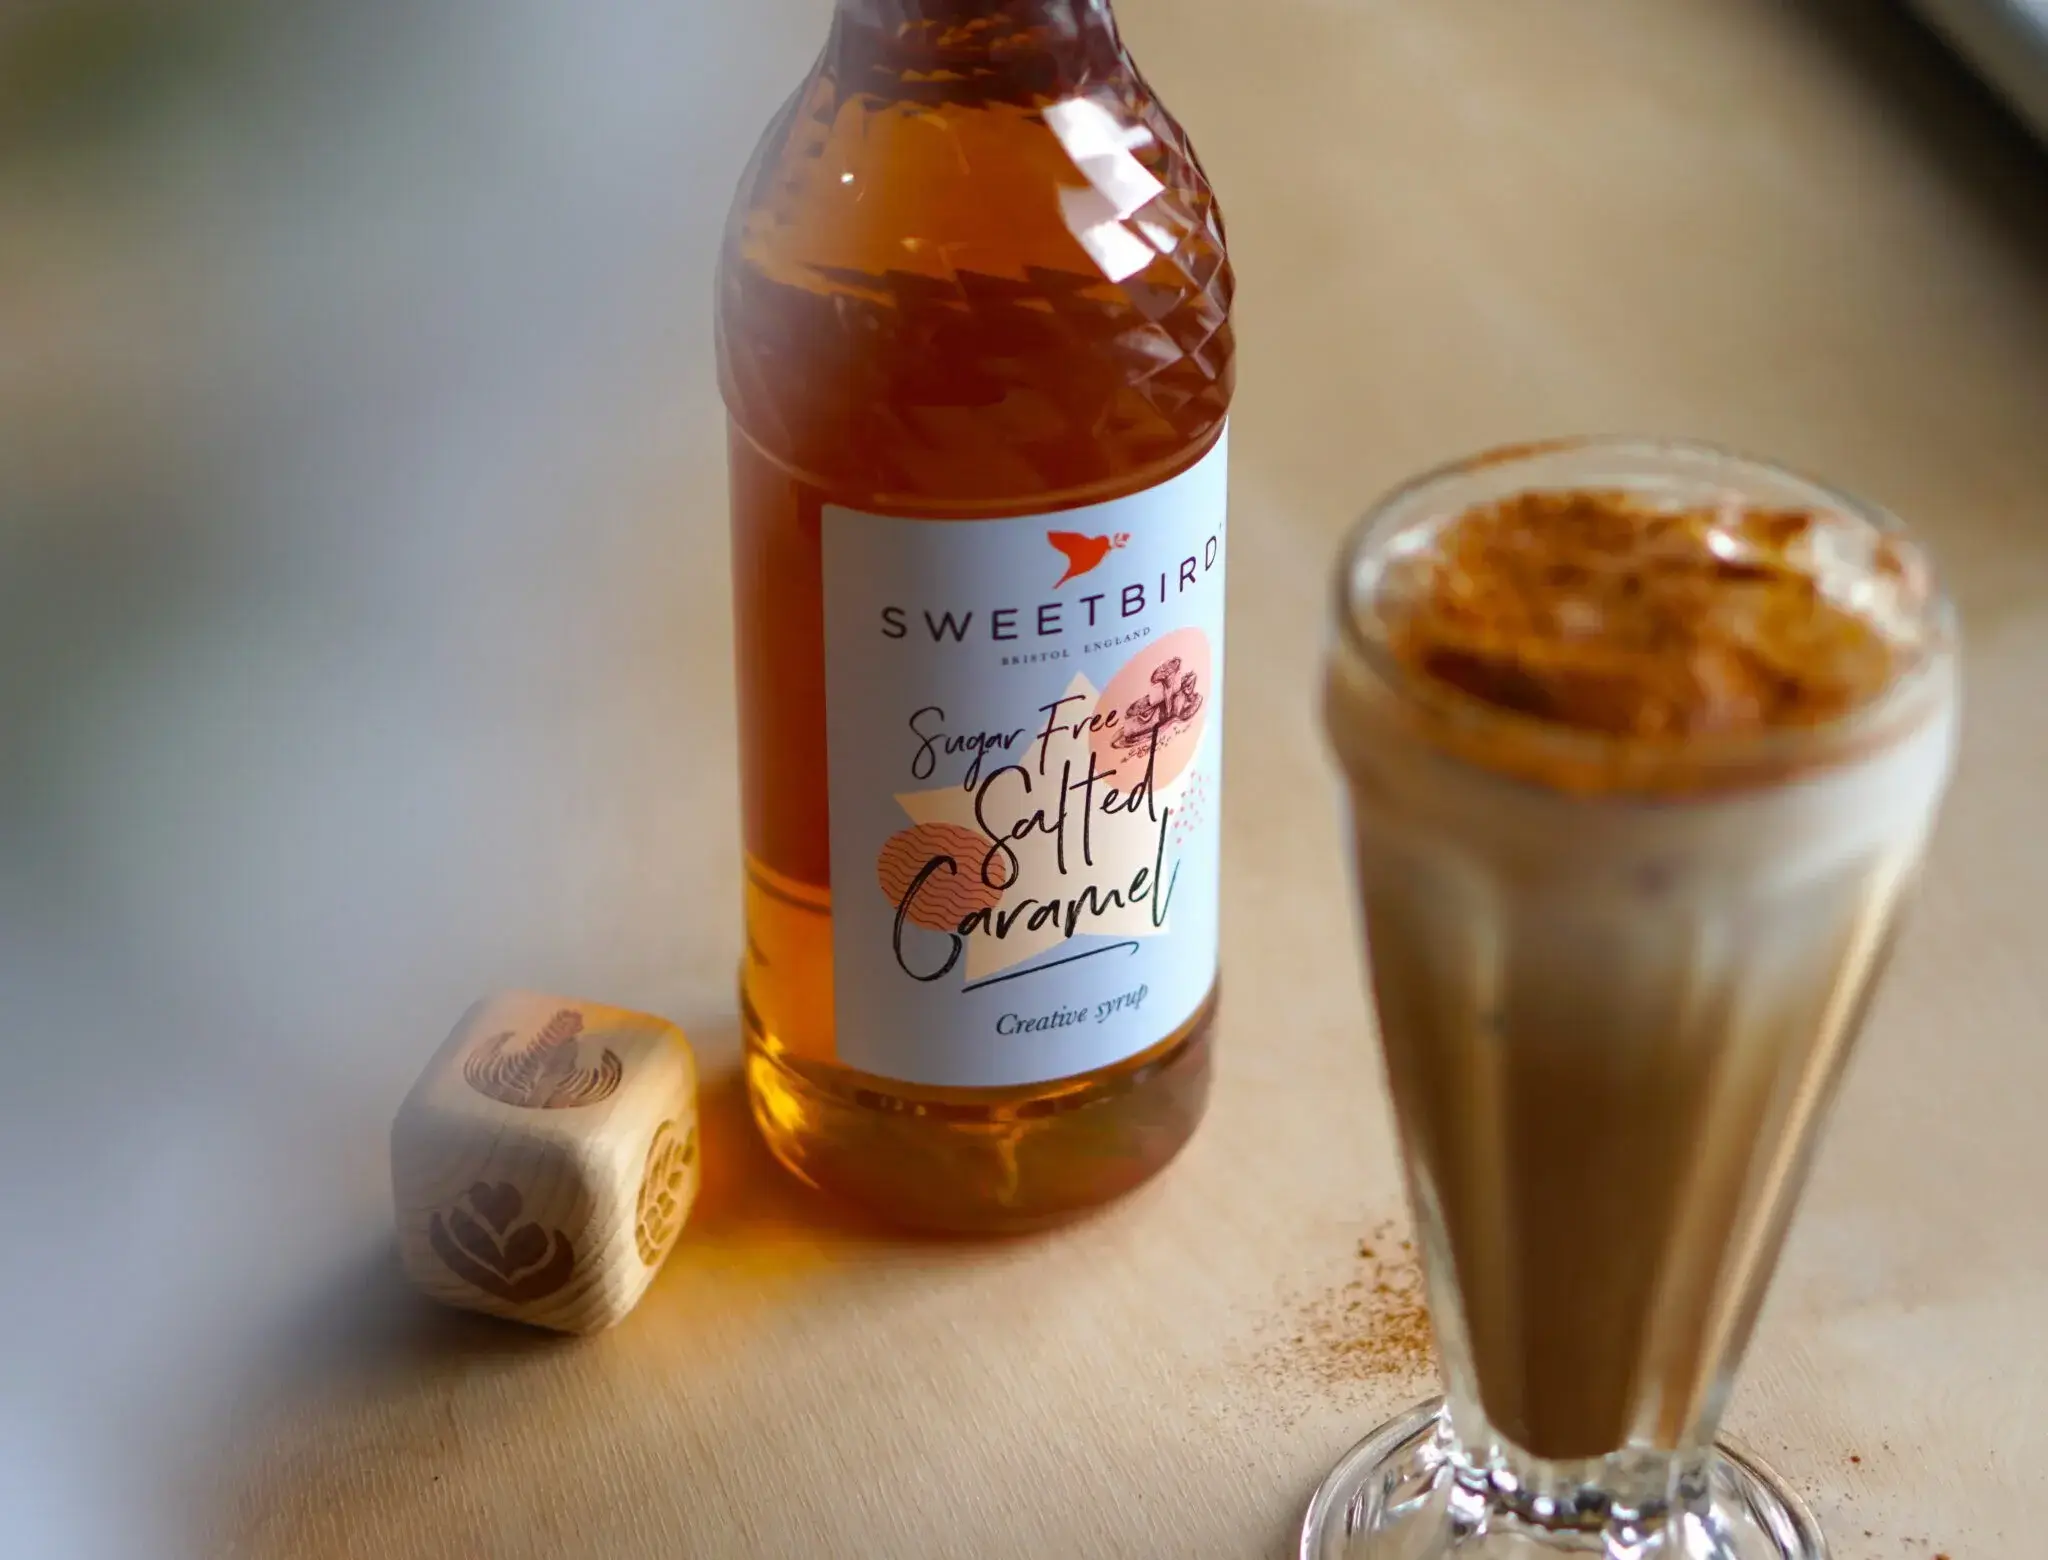
Everything you Could Need
A comprehensive range of supplies is designed to support you in delivering exceptional service every day.
It all starts with great beans
The Explorers Collection is 100% traceable, so with every sip your customers are taken on a journey across the most beautiful coffee-growing regions in the world. Our certified Roots Collection has farmers and their land at its heart, supporting initiatives such as Fairtrade, Organic, Rainforest Alliance and Project Waterfall.
Build the Coffee Brand Your Customers Will Love


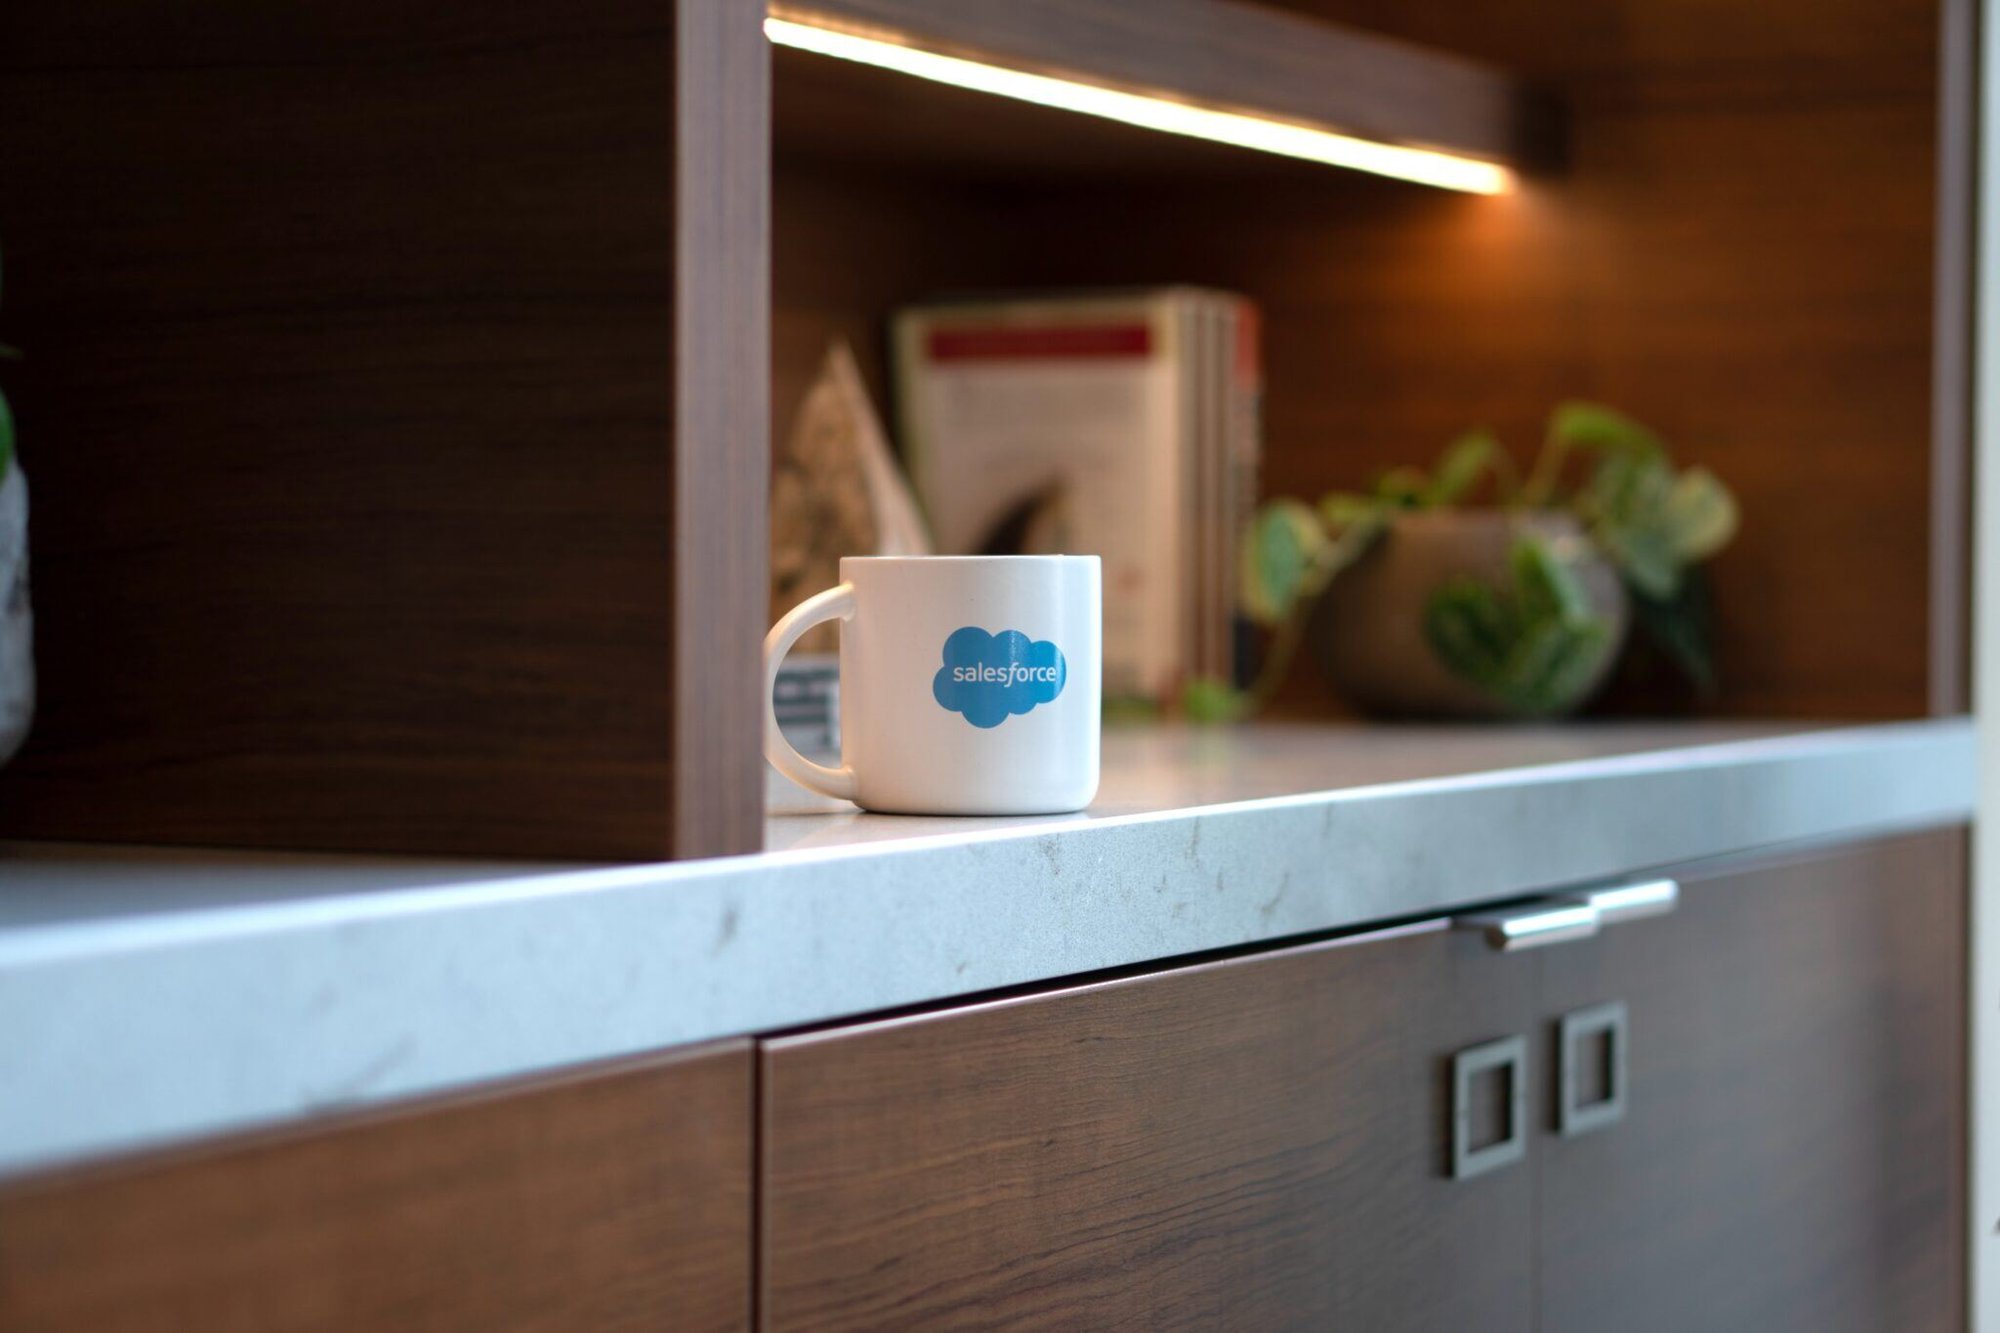
Salesforce Tower, London, were not getting the results and feedback on their coffee customer experience that they were hoping for and came to Bridge Coffee Roasters for a solution.

As The Udder Farm Shop trebled their capacity, they wanted to up their coffee game, too. Thanks to our specialist coffee and training sessions, they’re now getting great customer feedback.

Cleverchefs chose Bridge Coffee Roasters to help create their signature blend, Clevercoffee. We also provided training, equipment and branding support to make sure their coffee shop was set for success.


Kevin Boyle
Food and Beverage Director, Notcutts Garden Centres
I have found them a professional pro-active and responsive business with a very good product and an excellent infrastructure.
Nick Collins
Managing Director, Cleverchefs
“They have gone above and beyond, their set up is industrial enough to help us grow, we were just quite taking aback by the level of service and quality of bean that they offered.”
Peter Larman
Catering Manager, Peterhouse College, University of Cambridge
"The install all went well thank you, the engineers were extremely friendly, efficient and helpful. All the staff who have used the machine so far have commented on the improvement of the quality of drink"
Nik Edwards
General Manager, The Udder Farm Shop
“They were able to provide me with everything that I needed, from the equipment to the training and quality of the coffee, the time and effort they put into that was quite astounding.”
Remi Williams
Chef/Co-Owner, Smoke & Salt
“Given this is our first time introducing a coffee programme, Bridge Coffee Roasters have done a wonderful job with training and meeting our requirements. Installation was professional but done in an approachable way and we are excited to work with the roasting team going forward!”
Martin Batt
Head of Hospitality, University of Reading
"All is going really well so far and the team seem to have benefitted from the training. The mobilisation was very smooth and we look forward to using the Puqpress in DCV soon"
Karen Gallant
Assistant Catering Manager, University of East Anglia
"Your install team and training team carried out their roles professionally and cared about our site, allowing staff to work if needed. They got on very well with our staff and put their minds at ease. I received many positive comments from our management team, high credit to all"
Our Blog
Take your business to the next level with seasonal recipe ideas, coffee shop design inspiration, new technology updates and more.


